
7 Easy Steps on How to Make Wind Chimes for Your Home
Introduction
How to make wind chimes is a delightful endeavor that blends creativity, craftsmanship, and the soothing sounds of nature. Whether you’re looking to enhance your garden, patio, or balcony, crafting your own wind chimes can transform your outdoor space into a serene oasis. In this article, we’ll guide you through seven easy steps to create beautiful wind chimes that resonate with your personal style and taste.
At the heart of making wind chimes lies the selection of materials. You’ll discover a variety of options, from copper and aluminum to creative recycling of everyday items. Each material offers its unique charm, allowing you to customize your chime to produce the perfect sound. By understanding the properties of different materials, you can choose the right ones that fit your desired tone and aesthetic.
Once you have gathered your materials, the next step is to consider how to hang your wind chimes effectively. Proper placement is crucial for ensuring they catch the breeze and produce lovely melodies. We’ll explore best practices for hanging, including height considerations and the ideal location to optimize their sound and visual appeal. Additionally, tuning your wind chimes for perfect sound adds a layer of sophistication to your creation, allowing you to enjoy harmonious notes that can elevate your outdoor atmosphere.
As you embark on this creative journey, we’ll also share unique design ideas that can inspire you how to make wing chimes with various styles and configurations. From traditional chime designs to more eclectic arrangements, the possibilities are endless. So, roll up your sleeves and get ready to learn how to make wind chimes that are not only functional but also a reflection of your personal touch and artistic flair!
How to Make Wind Chimes: Materials You Need
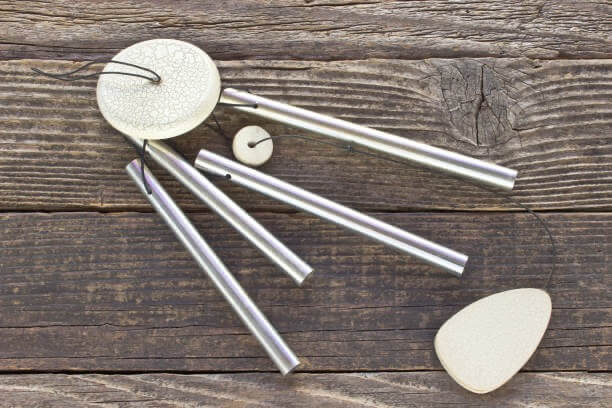
How to Make Wind Chimes? Creating your own wind chimes can be a delightful and rewarding project to enhance your outdoor space. To get started of “How to Make Wind Chimes”, you’ll need a few essential materials that are easy to find at local craft stores or home improvement centers across Taiwan. Here’s a comprehensive list of what you’ll need:
- Chime Tubes:
- You can choose from a variety of materials for the chime tubes, including:
- Copper: Produces a warm, rich sound.
- Aluminum: Lightweight and durable, with a bright tone.
- Steel: Offers a deep, resonant sound; EMT (Electrical Metallic Tubing) is a popular option, typically priced around NT$100 for 5 feet.
- Brass: Known for its mellow tones but can be pricier.
- Example: If you want a deeper sound, opt for a larger diameter pipe (e.g., ¾” EMT).
- You can choose from a variety of materials for the chime tubes, including:
- Hanging Mechanism:
- Twine or Rope: Necessary for suspending the chimes. Be sure to select a durable option that can withstand outdoor conditions.
- Heat Shrink Tubing: This can protect the twine from fraying against the edges of the chime holes, ensuring longevity.
- Drilling Tools:
- Drill with Bits: A drill with a ⅛” bit is needed to make holes in the chimes for hanging.
- Hammer and Nail: To mark the drilling spots accurately.
- Cutting Tools:
- Pipe Cutter or Hacksaw: Needed to cut the chime tubes to the desired lengths for specific pitches.
- Sanding Materials: Use fine grit sandpaper (e.g., 150 grit) to smooth the cut edges of the chime tubes.
- Support Structure:
- Wooden Board or Metal Ring: This will serve as the base from which your chimes will hang. You can get creative and use reclaimed wood for a rustic look.
- Striker:
- Material of Striker: The striker can be made of wood, metal, or even stone, and should be weighted enough to strike the chimes effectively.
Here’s a comparison table to help you choose the right materials based on the sound you desire:
| Material | Tone Quality | Durability | Cost (approx.) |
| Copper | Warm, rich | Moderate | Higher |
| Aluminum | Bright, clear | Very high | Moderate |
| Steel | Deep, resonant | High | Low |
| Brass | Mellow, soft | Moderate | Higher |
By gathering these materials, you will be well on “How to Make Wind Chimes” that not only adds visual appeal to your home but also brings soothing sounds to your outdoor environment. Enjoy the creative process and let your personality shine through in your wind chime designs!
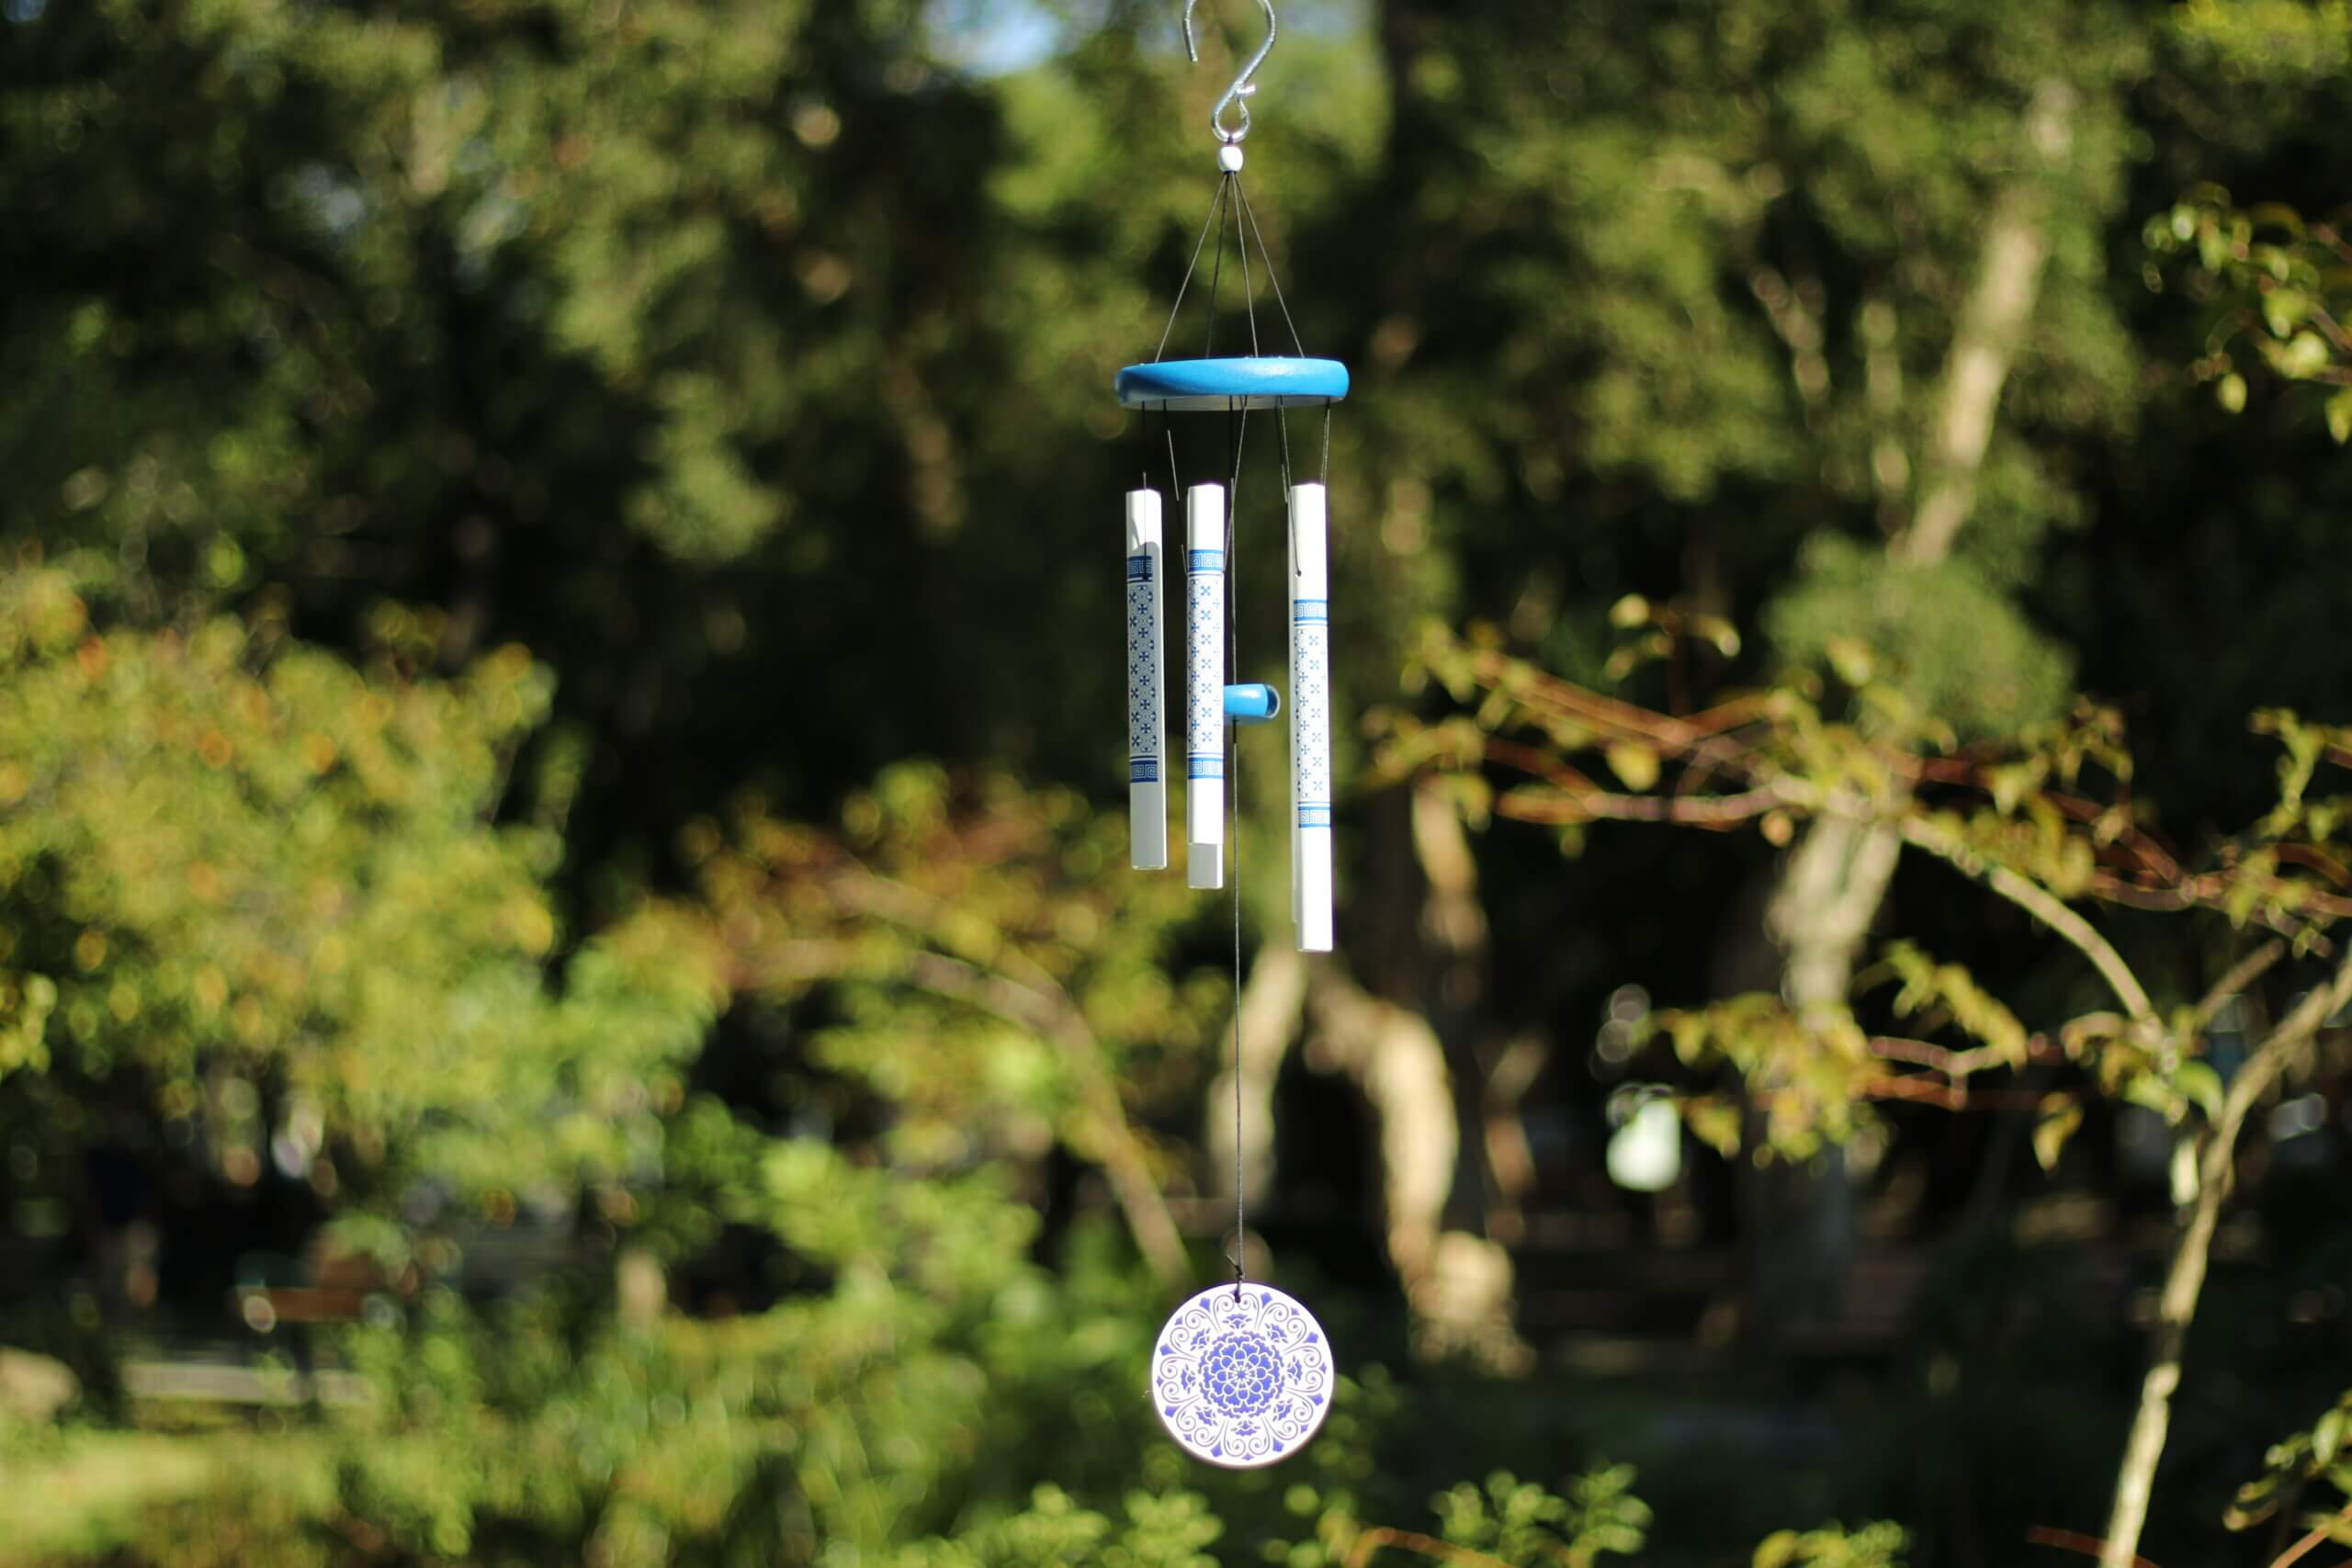
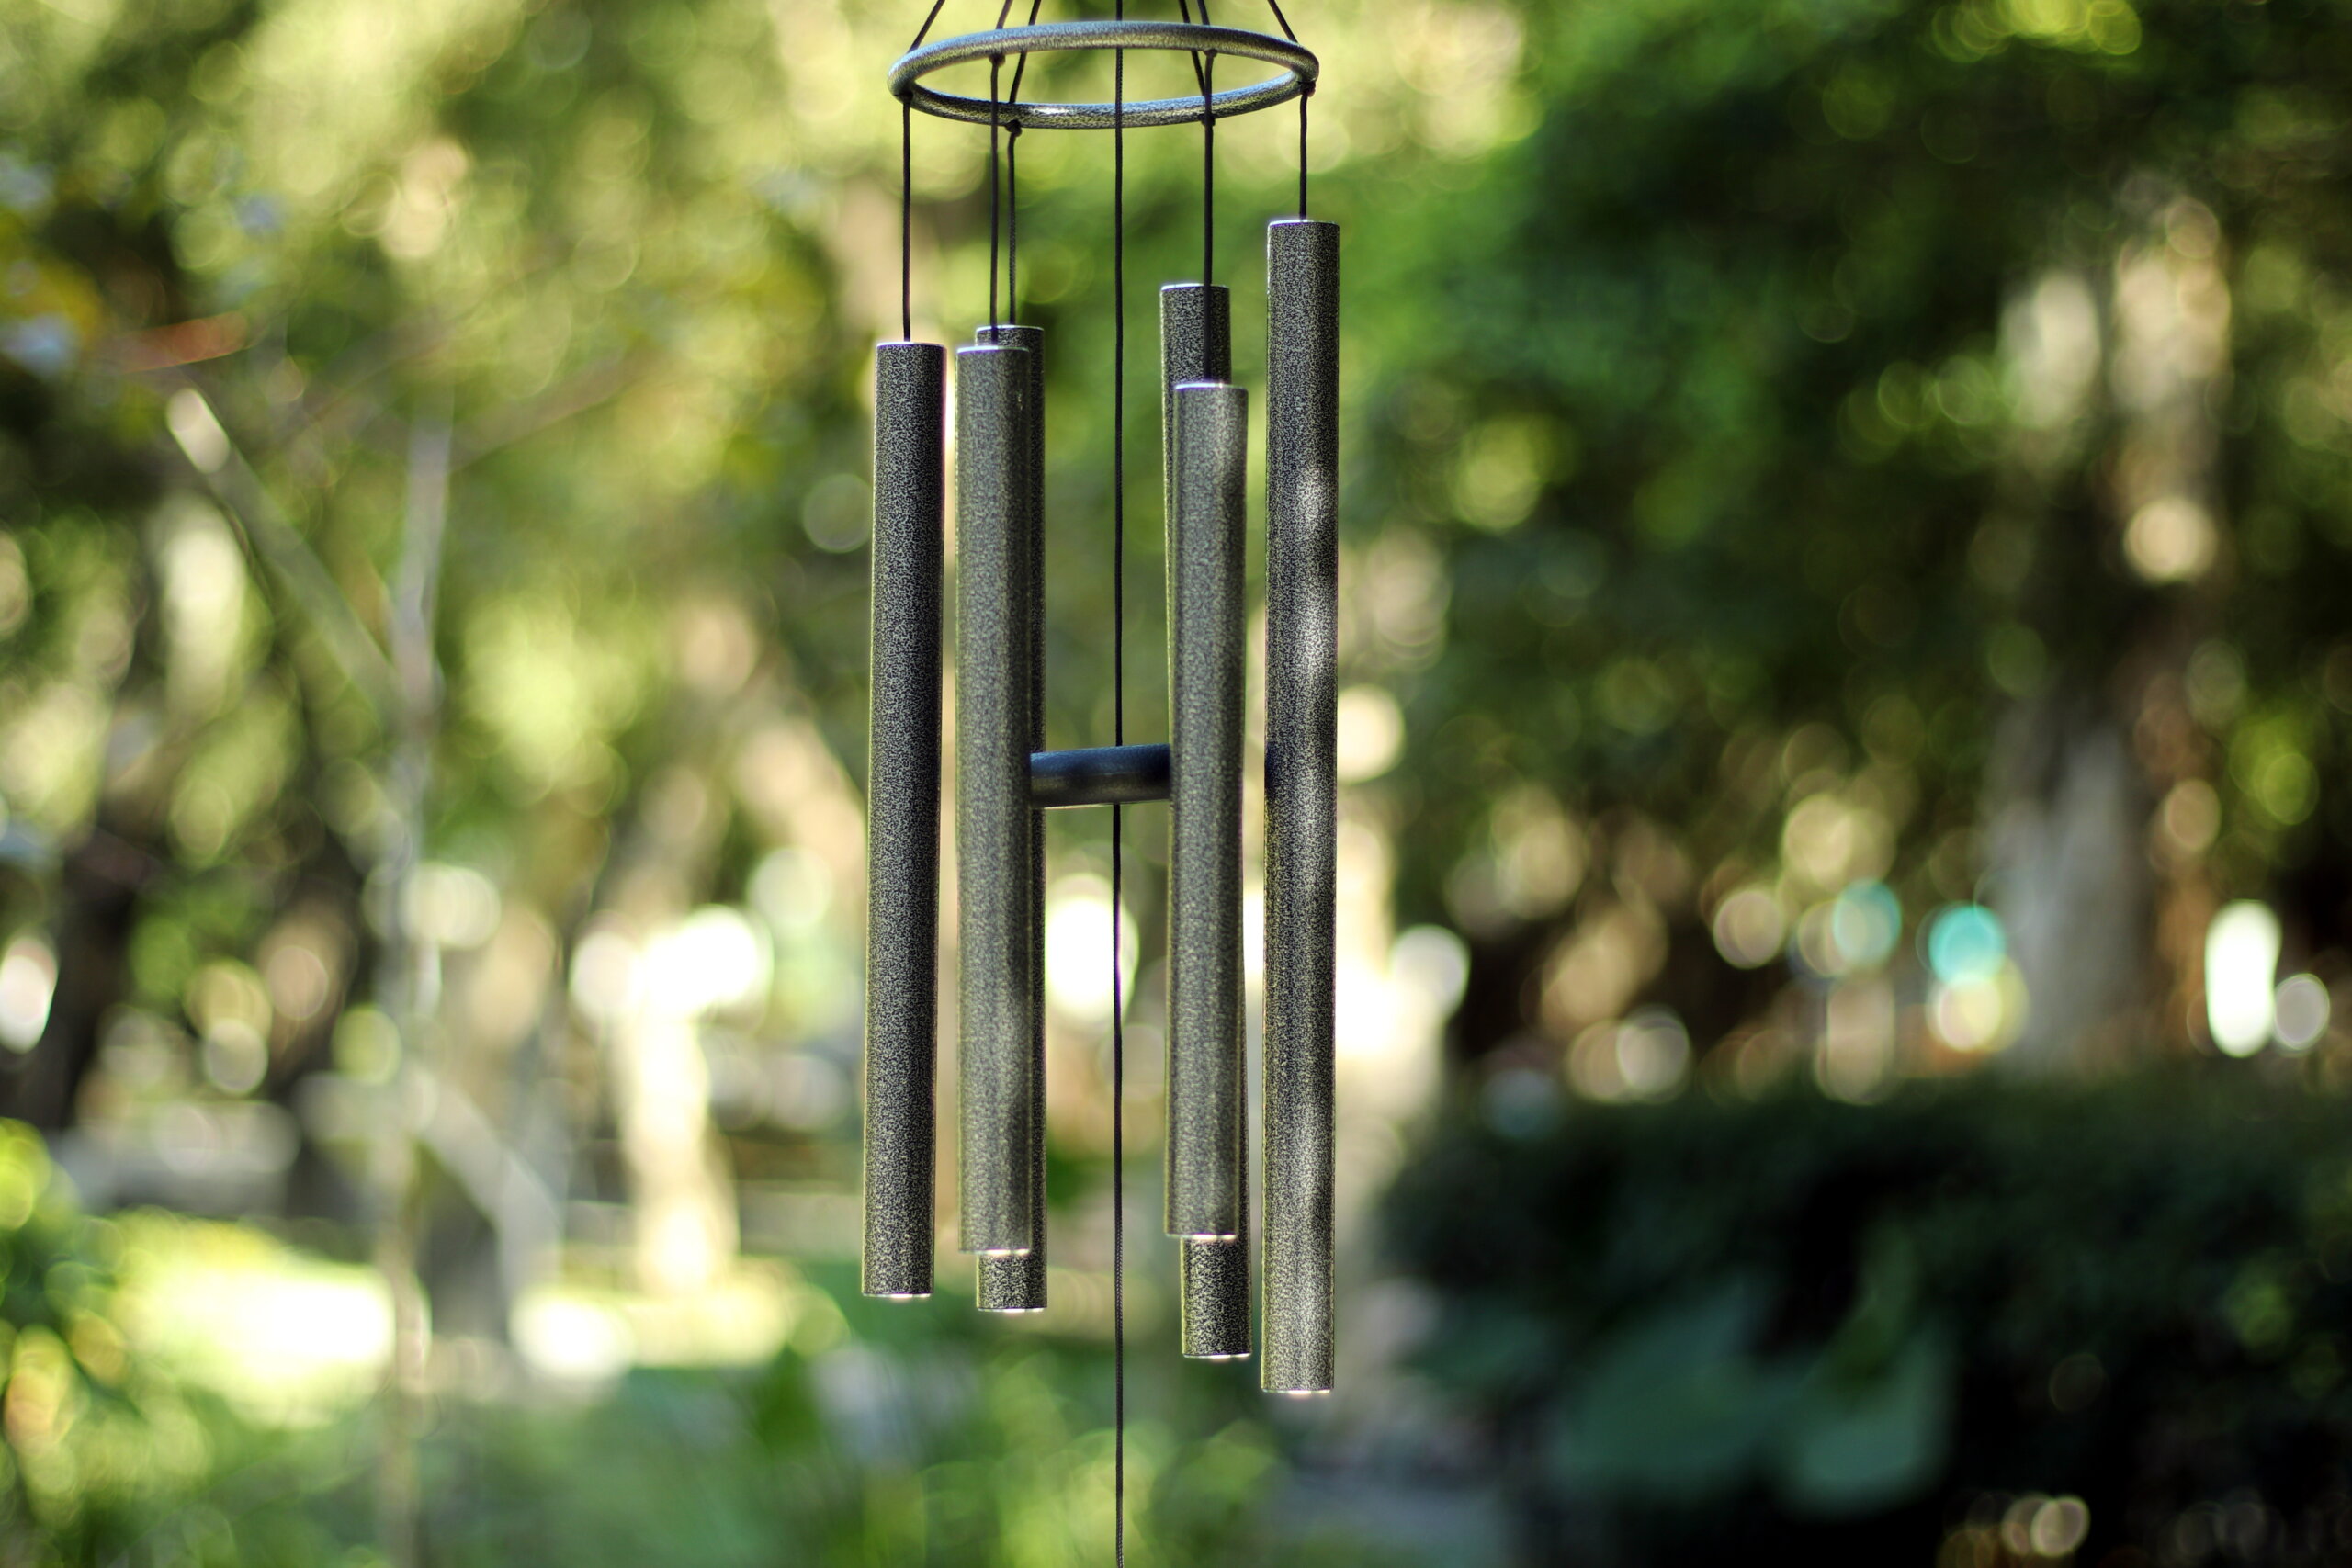
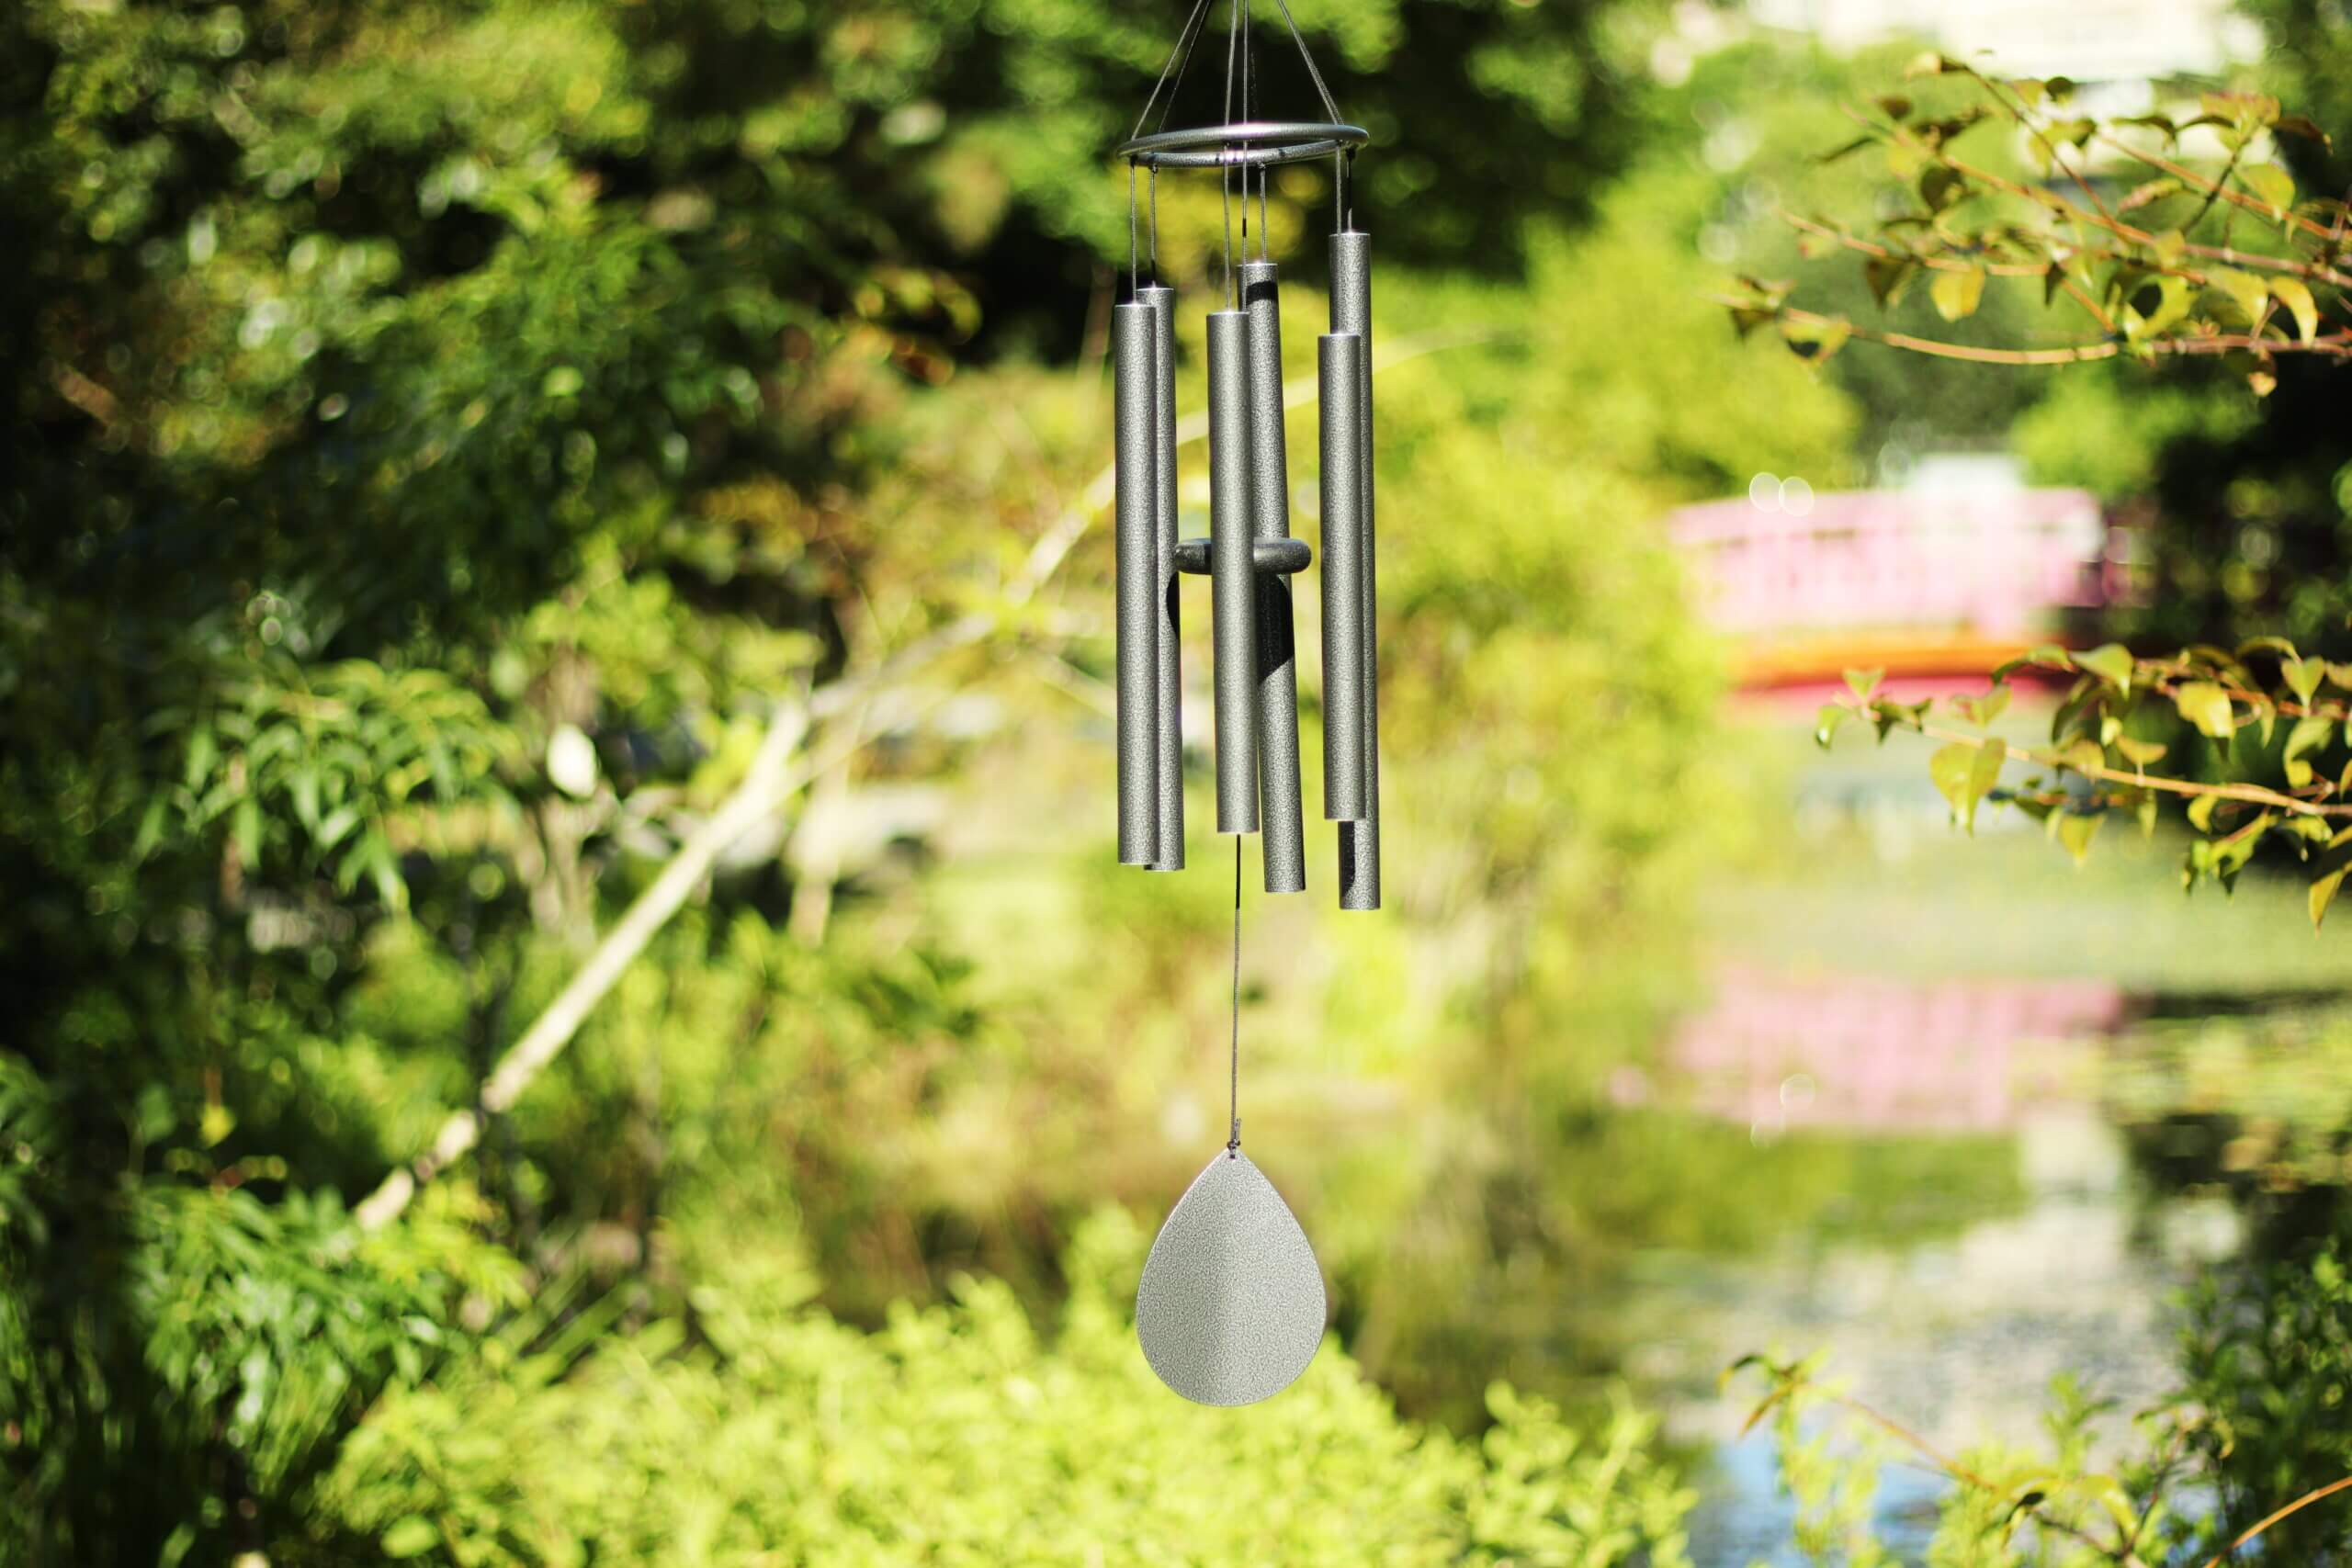
How to Make Wind Chimes: Best Outdoor Decor to Hang on
Hanging wind chimes outdoors can enhance your garden or balcony with delightful sounds and charming aesthetics. If you’re wondering how to properly hang homemade wind chimes, consider the following best practices:
- Choose the Right Location:
- Look for a spot that receives a gentle breeze but is not too exposed to harsh winds. Ideal locations include:
- Near trees or shrubs that provide some shelter.
- On a covered porch where they can still catch breezes but are somewhat protected from severe weather.
- Look for a spot that receives a gentle breeze but is not too exposed to harsh winds. Ideal locations include:
- Height Matters:
- Wind chimes should be hung at a height where they can swing freely. Aim for:
- A minimum height of 5-7 feet from the ground to avoid interference with foot traffic.
- If hanging from a tree, ensure the chimes are high enough to prevent animals from tampering with them.
- Wind chimes should be hung at a height where they can swing freely. Aim for:
- Use Appropriate Support:
- Opt for durable materials to support your chimes. A few options include:
- Chains or strong twine: These are great for hanging chimes from hooks or tree branches.
- Metal hooks: Ensure they can withstand outdoor elements without rusting.
- Opt for durable materials to support your chimes. A few options include:
- Create Ample Space:
- Ensure that the chimes are spaced well enough so they don’t collide with each other. This will help maintain their sound quality. A good rule of thumb is:
- Leave at least 2-3 inches between each chime to avoid unwanted noise and potential damage.
- Ensure that the chimes are spaced well enough so they don’t collide with each other. This will help maintain their sound quality. A good rule of thumb is:
- Consider the Wind Direction:
- Observe the prevailing wind direction in your area:
- Position the chimes so they catch the wind efficiently, enhancing their melodious sounds.
- You can use a weather vane or simply observe how trees sway.
- Observe the prevailing wind direction in your area:
- Securely Fasten Your Chimes:
- Use knots that are easy to untie but remain secure under pressure. For instance:
- A bowline knot is perfect for creating a fixed loop that won’t slip.
- Ensure all attachments are snug to prevent the chimes from falling.
- Use knots that are easy to untie but remain secure under pressure. For instance:
- Test the Sound:
- Once hung, give your wind chimes a gentle push to see how they sound:
- Adjust their position if they are not producing the desired musical notes or if they sound muted.
- Once hung, give your wind chimes a gentle push to see how they sound:
Comparison of Hanging Methods
| Hanging Method | Pros | Cons |
| Chains | Durable, customizable length | Heavier, may rust if not coated |
| Twine | Lightweight, easy to work with | May wear out faster, less stable |
| Metal Hooks | Strong support, reliable | Requires drilling or installation |
By following these guidelines, you can ensure that your wind chimes not only look beautiful but also produce enchanting sounds to enjoy in your outdoor space. Happy hanging!
How to Make Wind Chimes:How to Tune for Perfect Sound
In “How to Make Wind Chimes” Tuning your wind chimes is a crucial step in ensuring they produce harmonious and pleasant sounds. Here’s a simple guide on how to achieve accurate notes and create a delightful auditory experience that complements your home decor.
1. Choose Your Materials Wisely
- Types of Metal: The material you select for your chimes plays a significant role in their sound quality. Common choices include:
- Copper
- Steel (like EMT, which is cost-effective)
- Aluminum
- Brass
- Diameter Matters: Wider pipes create deeper sounds. For example, a ¾” diameter pipe will generally produce a lower tone compared to a smaller diameter pipe.
2. Refer to Tuning Charts
To achieve precise tuning, use a chart that lists the required lengths of the chimes based on the desired musical notes. Websites like Mr. Hite’s provide downloadable resources including: – Pre-calculated Tube Length and Hang Point Dimensions – Frequency (Hz) for specific notes (e.g., C#, D#, F#, etc.)
3. Measure and Cut
- Length Calculation: Once you select the notes you want, measure the corresponding lengths from the chart and mark them on your pipes. For example, if you aim for a C# note, refer to the chart for the exact length.
- Cutting Tools: A pipe cutter is recommended for clean cuts, but a hacksaw or Dremel can also be effective. Always measure slightly longer than needed to allow for final adjustments.
4. Drilling Holes for Hanging
- Use a hammer and nail to mark the drilling spots based on the tuning chart. Drill holes at the specified locations using a ⅛” drill bit. This precise placement is vital for producing the loudest and most resonant sound.
5. Test Tuning
- Striking Method: Your striker (the object that hits the chimes) can affect the sound. A round striker works well for hitting one chime at a time, but you can also design a setup where multiple chimes are struck simultaneously for a fuller sound.
- Fine-Tuning: After assembly, hang your chimes and test their sound. If they are not in tune, you can carefully trim the ends of the pipes with a 45° cut for precision.
6. Using Chromatic Tuners
While using a chromatic tuner can help, remember that the human ear perceives sound slightly differently than these devices. So, trust your ear for tuning adjustments, focusing on achieving a harmonious sound.
7. Experiment with Chime Configuration
- Chime Arrangement: The arrangement of your chimes can also influence the sound. For a pleasing auditory experience, consider a pentatonic scale (C, D, E, G, A) which traditionally sounds harmonious.
| Chime Material | Typical Length for C4 Note | Sound Quality |
| Brass | 8 inches | Bright and clear |
| Aluminum | 9 inches | Lively and vibrant |
| EMT Steel | 10 inches | Deep and resonant |
Incorporate these steps into your wind chime crafting process, and you’ll create a beautiful wind chime that not only adds charm to your home but also pleases the ears with its melodic sounds!
How to Make Wind Chimes: Unique Designs You Can Try

Creating your own wind chimes can be a fulfilling and enjoyable project that adds a personal touch to your outdoor space. Here are some creative wind chime crafts that you can explore, perfect for enhancing your garden or patio. Whether you’re a beginner or an experienced crafter, these DIY wind chime ideas will inspire you to unleash your creativity.

1. Copper Pipe Chimes
- Materials Needed: Copper pipes, saw, drill, decorative beads or crystals.
- Process:
- Cut copper pipes to different lengths to create a harmonious sound.
- Drill holes for hanging and consider adding decorative beads or crystals that can catch sunlight and add visual appeal.
- Assemble the chimes and hang them in a breezy spot.

2. Shell Wind Chimes
- Materials Needed: Shells (collected from beaches), fishing line, driftwood.
- Process:
- Use a sturdy piece of driftwood as the base.
- Attach different shells using fishing line at varying lengths for a cascading effect.
- Hang in an area where they can sway in the wind, creating soothing sounds reminiscent of the ocean.
3. Recycled Material Chimes
- Materials Needed: Old utensils (like spoons or forks), a sturdy base (wood or aluminum), twine.
- Process:
- Collect various utensils and clean them thoroughly.
- Drill holes in the handles and attach them to your base using twine.
- Experiment with different utensils to create unique sound effects when they clink against each other.
4. Glass Bottle Wind Chimes
- Materials Needed: Empty glass bottles, wire, beads.
- Process:
- Cut the bottom off glass bottles to create the chime tubes.
- Use wire to shape and decorate the bottles.
- Hang the bottles at varying lengths on a wooden base for a charming look.
5. Wind Chime Kits for Beginners
- If you’re new to crafting, consider purchasing wind chime kits for beginners. These kits come with all necessary materials and instructions, making it easy to create beautiful chimes without needing extensive crafting experience.
6. Creative Design Techniques
- Experiment with Tuning: Use different materials such as metal, wood, or even bamboo to produce varying sounds.
- Visual Appeal: Don’t just focus on sound; consider the aesthetic aspect by incorporating colorful paints or natural elements like flowers and leaves.
- Mix and Match: Combine different chime designs for a more eclectic look or to create a themed garden display.
By exploring “How to Make Wind Chimes”, you can not only enhance your outdoor decor but also enjoy the soothing sounds they produce. Each piece can be uniquely yours, reflecting your personal style and creativity while serving as a delightful addition to your home environment. Enjoy the crafting process and let your imagination guide you!
Bring Your Brand’s Vision to Life with Custom Wind Chimes
Are you a retailer, importer, or brand seeking high-quality, customizable wind chimes to elevate your product line or promotional offerings?
At Dionysus Artcrafts, we specialize in crafting exquisite wind chimes tailored to your specifications—from premium materials like copper and aluminum to unique, eye-catching designs that captivate your customers.
- OEM & ODM Services Available
- Competitive Wholesale Pricing
- Decades of Artisanal Manufacturing Expertise
Let’s discuss how we can help you stand out in the market. Contact Us To day!